Quick Start
Deste in a minute: add files, weed out and reorder pages, and save them as a single PDF.
This page shows the shortest way to weed out the pages of a few documents and merge them into one PDF.
1. Add your files
Open destepdf.com and click Add Files, or drag files onto the window. You can pick several files at once. PDFs are added as they are; images (PNG, JPG, WebP, BMP, GIF, AVIF) are added as one PDF page each.
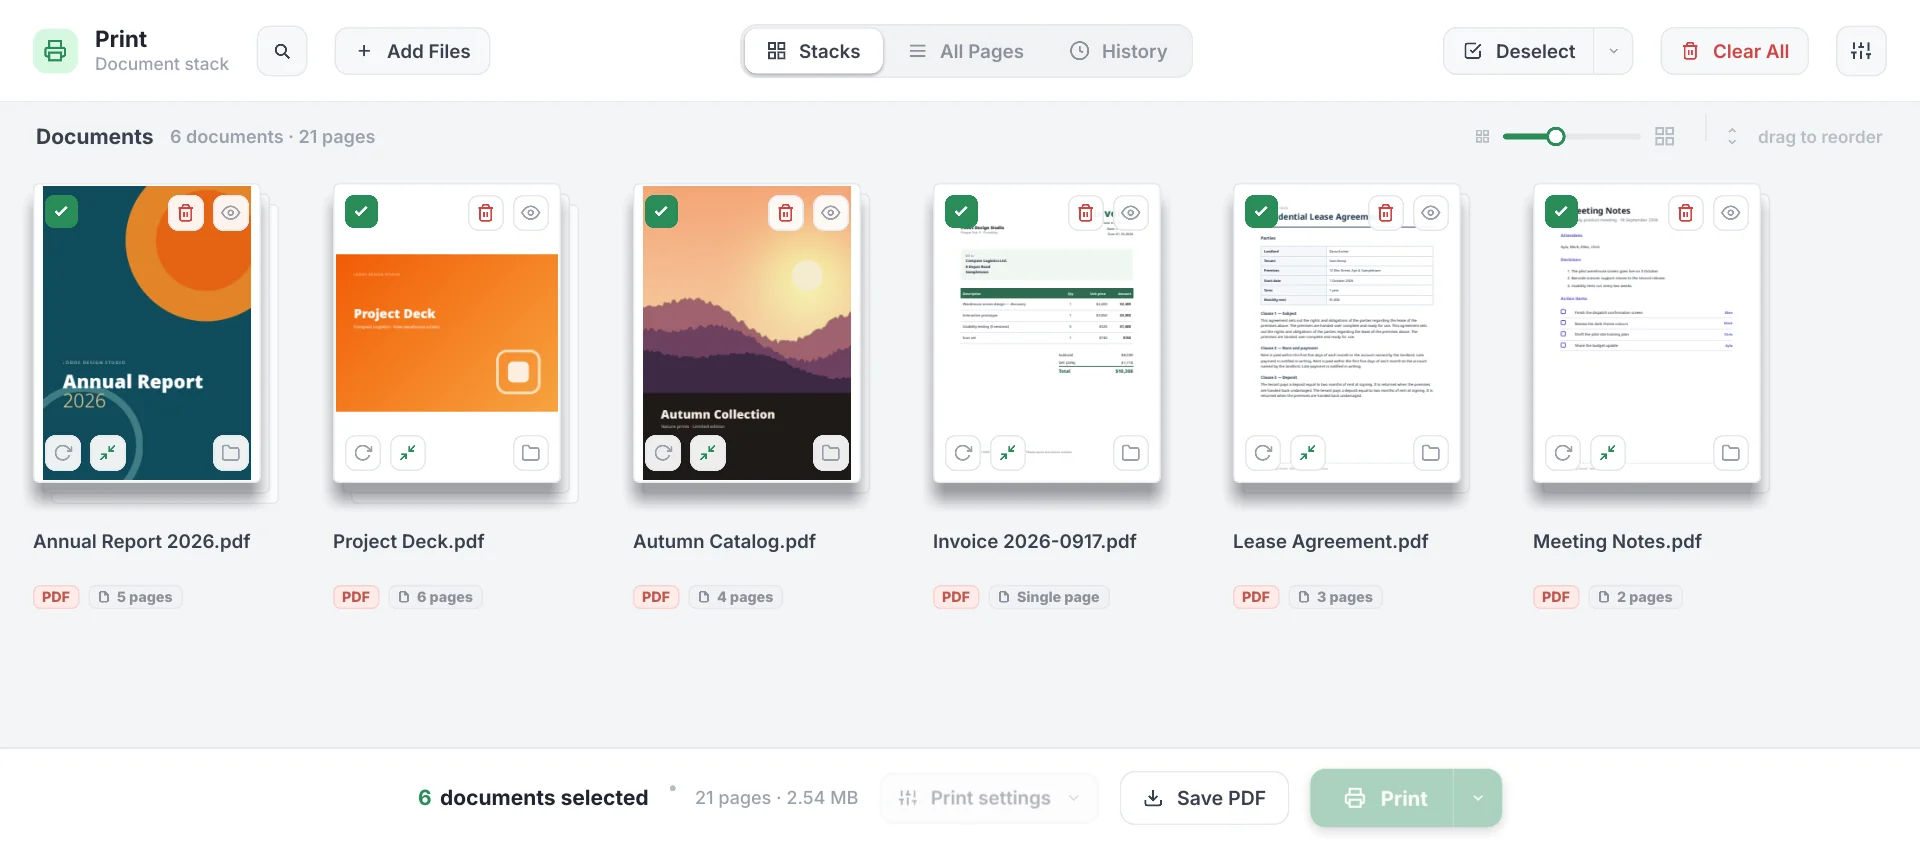
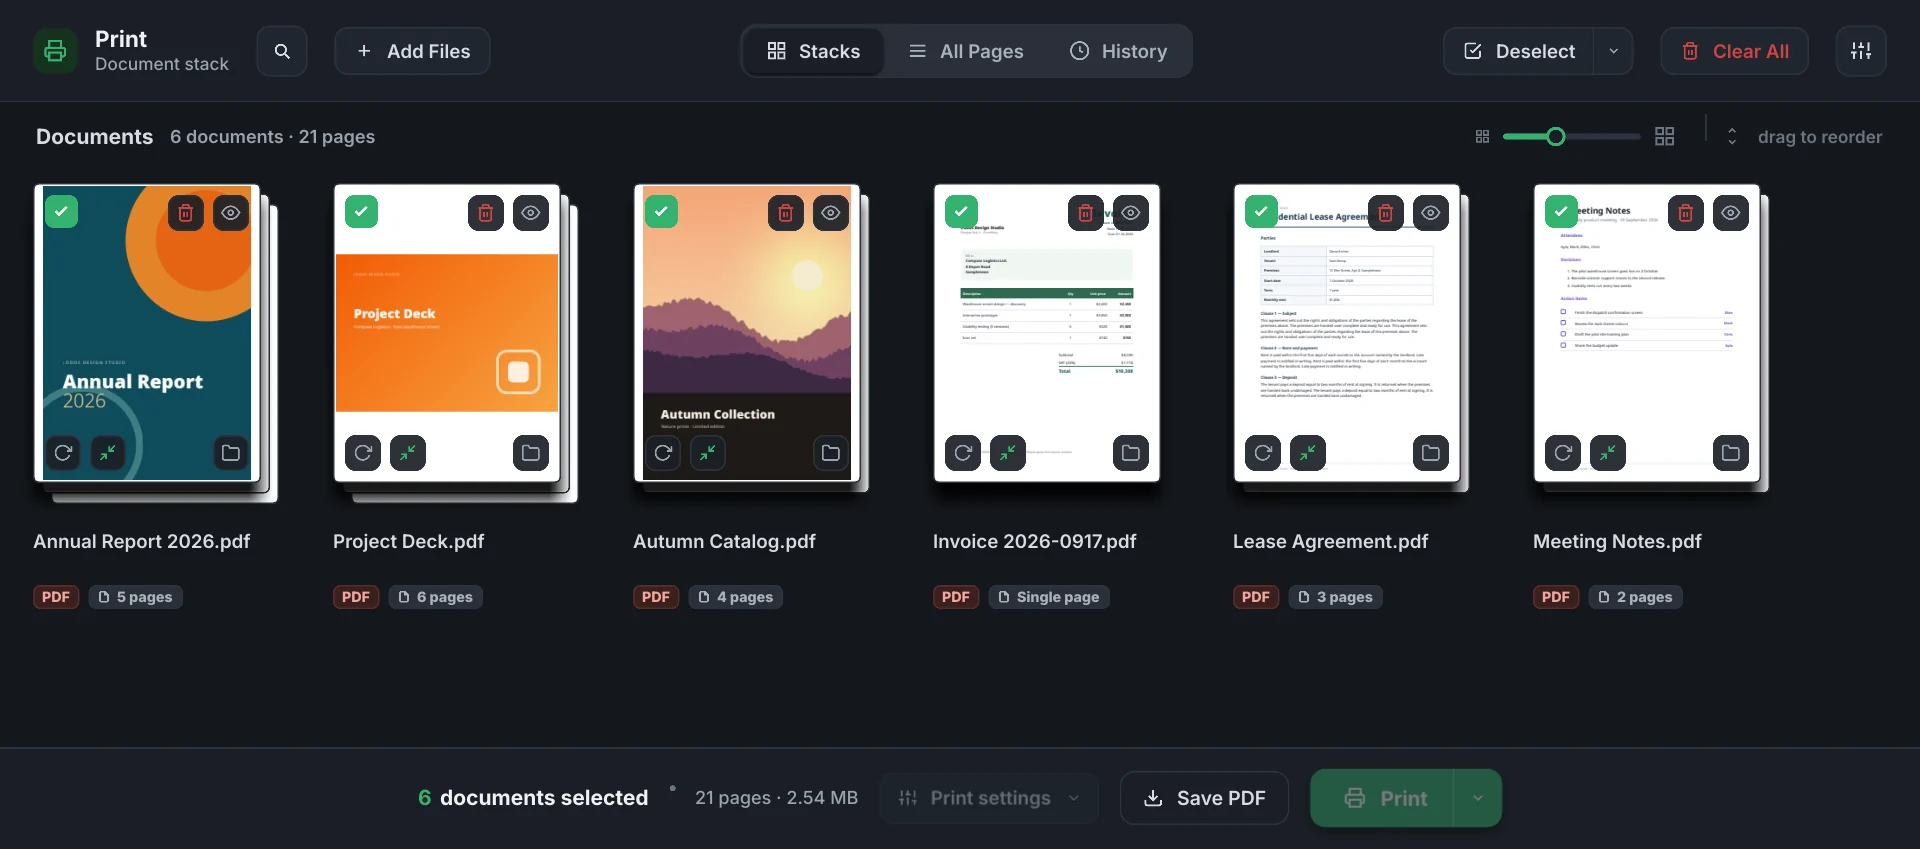
Each document becomes a card in the Stacks view: its cover page, name and page count.
2. Set the order
Drag the cards to reorder them; the document order in the output is the order on screen. If you don’t want a document in the output, uncheck the checkbox at its top left.
3. Weed out pages
Switch to the All Pages tab at the top. Each document’s pages appear in a row:
- Uncheck the checkbox of a page you don’t want; the page fades and is left out of the output.
- Drag pages within the row to reorder them.
- Turn a page 90° with the rotate button that appears when you hover over it.
- Click a page to open it in the large preview.
4. Save
The bar at the bottom shows how many documents and pages are selected. Click Save PDF:
- Everything selected is merged into a single PDF, in the order shown on screen.
- If Compress while saving is on, you choose a compression level and see the before and after.
The file goes to your browser’s downloads folder. Your original files don’t change.
If you close the tab
As long as history is on (7 days by default), your open documents and your edits are stored in this browser; reopen the tab and you pick up where you left off. See History and resuming work.
Next steps
- Organizing documents — moving, copying, splitting and shortcuts.
- PDF compression — shrink scanned documents.